Skip to product information
1 of 31

DIY Flowers Stamped Embroidery Starter Kit

DIY Flowers Stamped Embroidery Starter Kit

Regular price $11.01 USD
Regular price Sale price $11.01 USD
Sale Sold out
Shipping calculated at checkout.
Color
Ships From

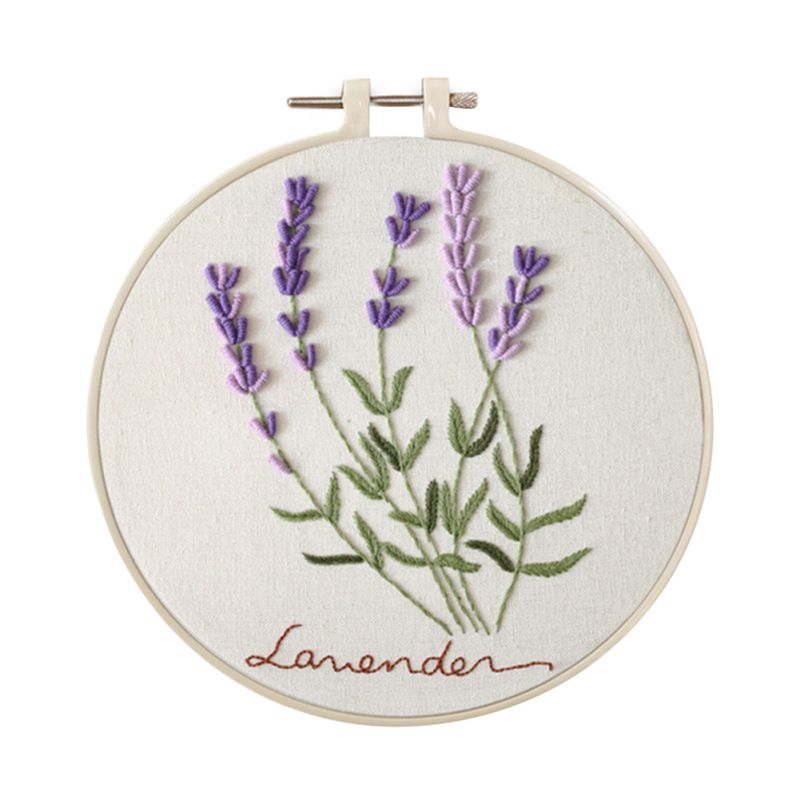
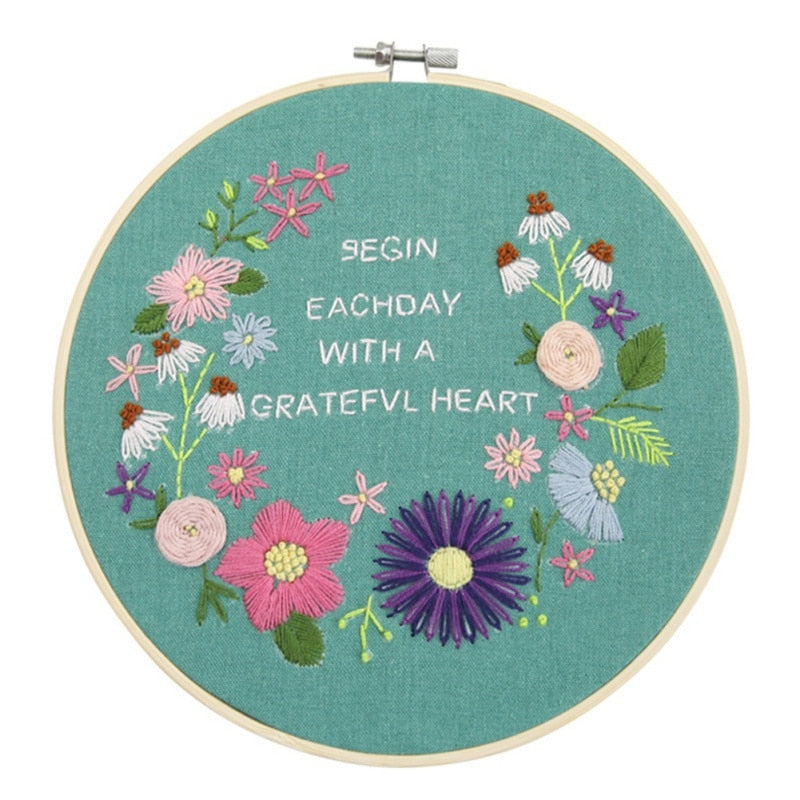
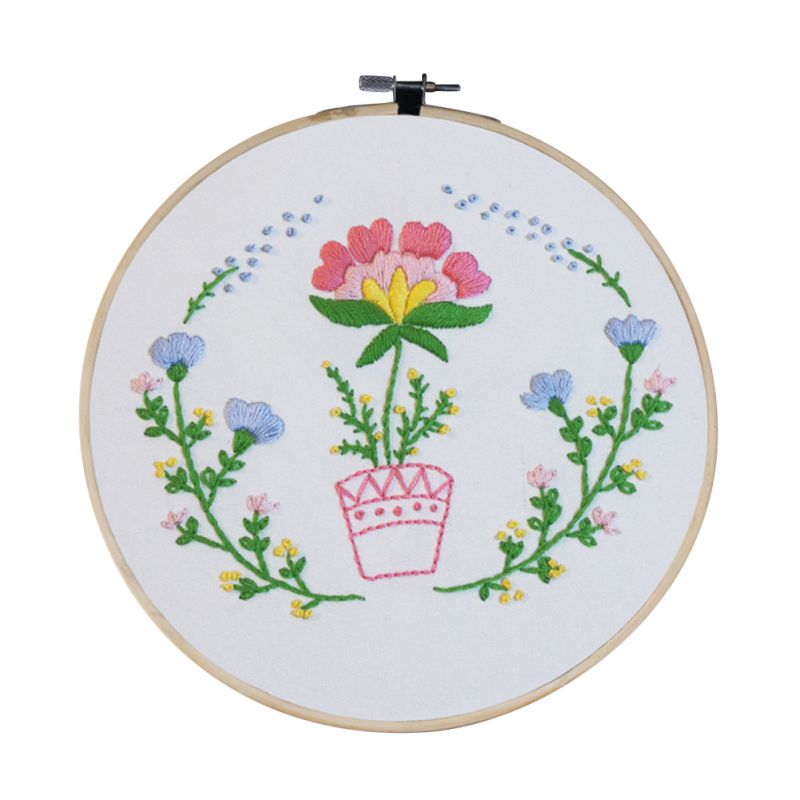
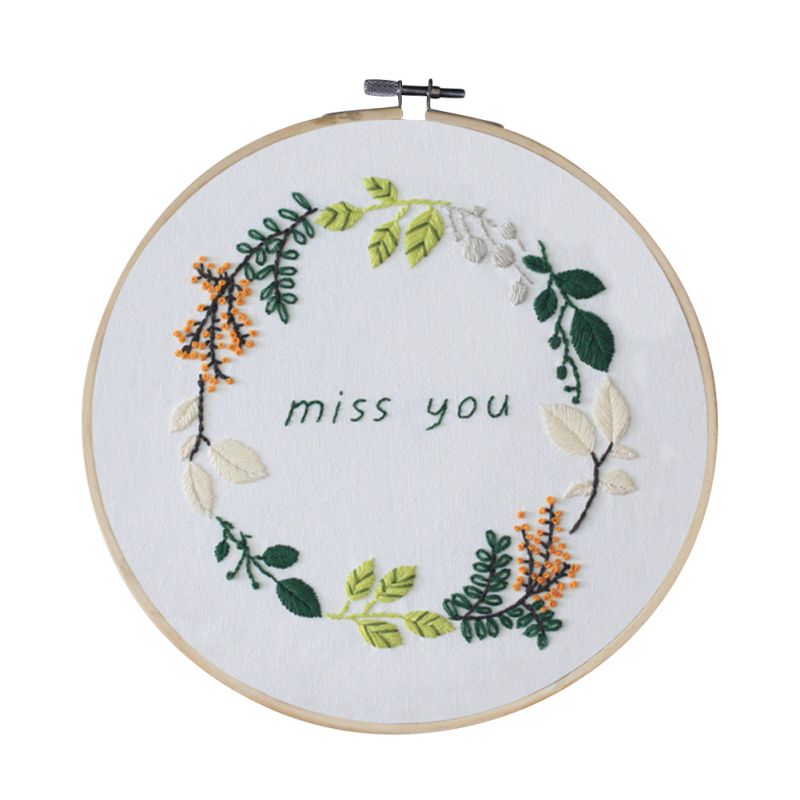
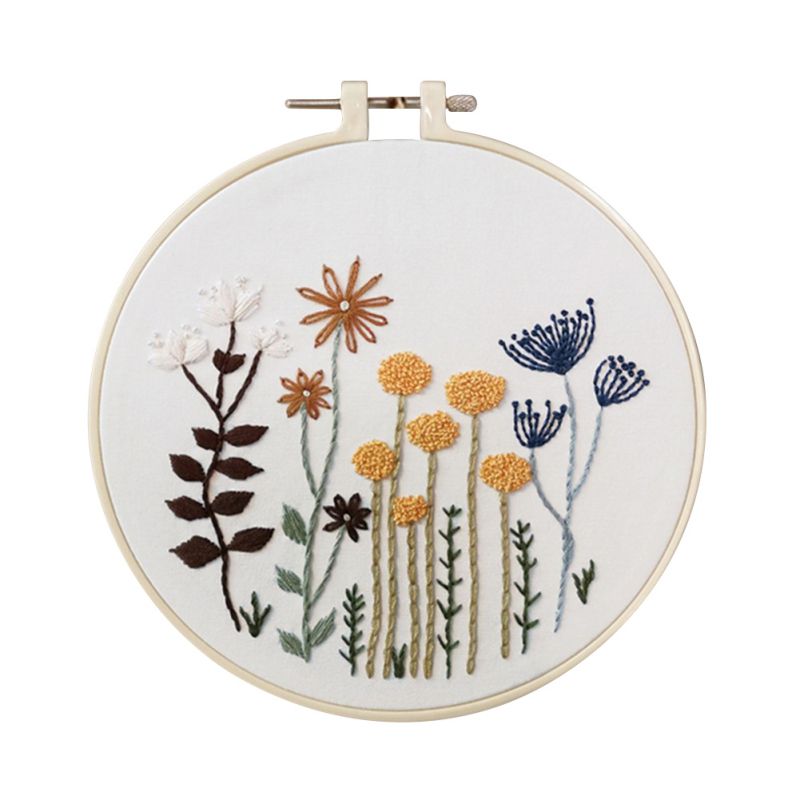
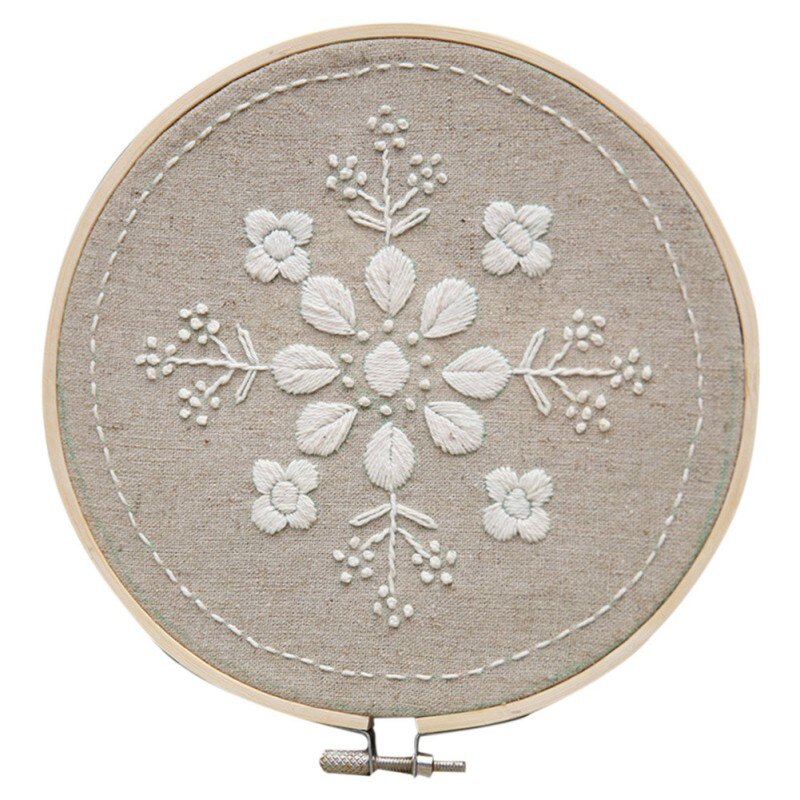
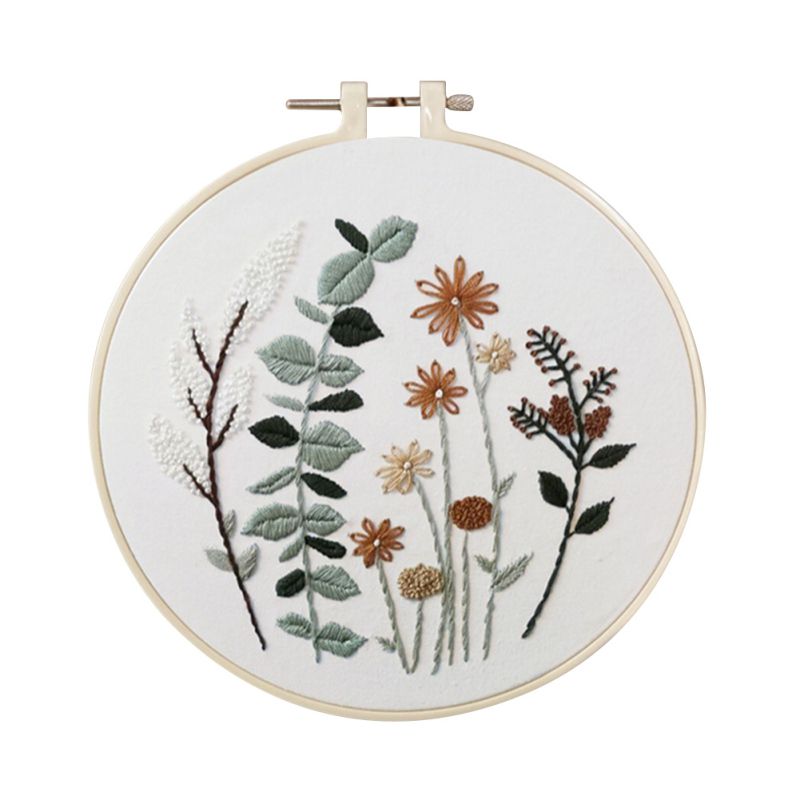
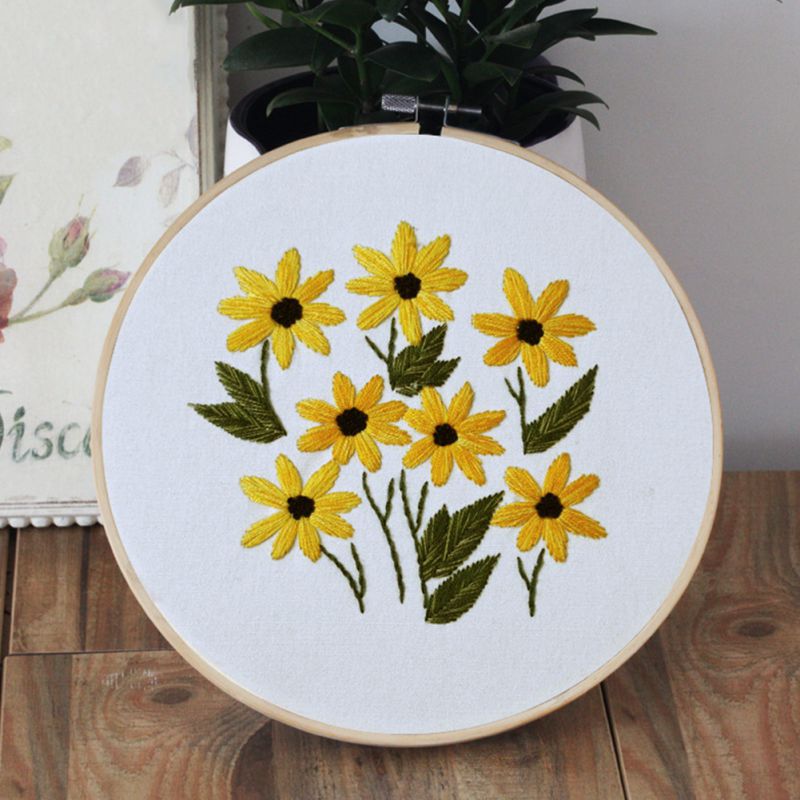
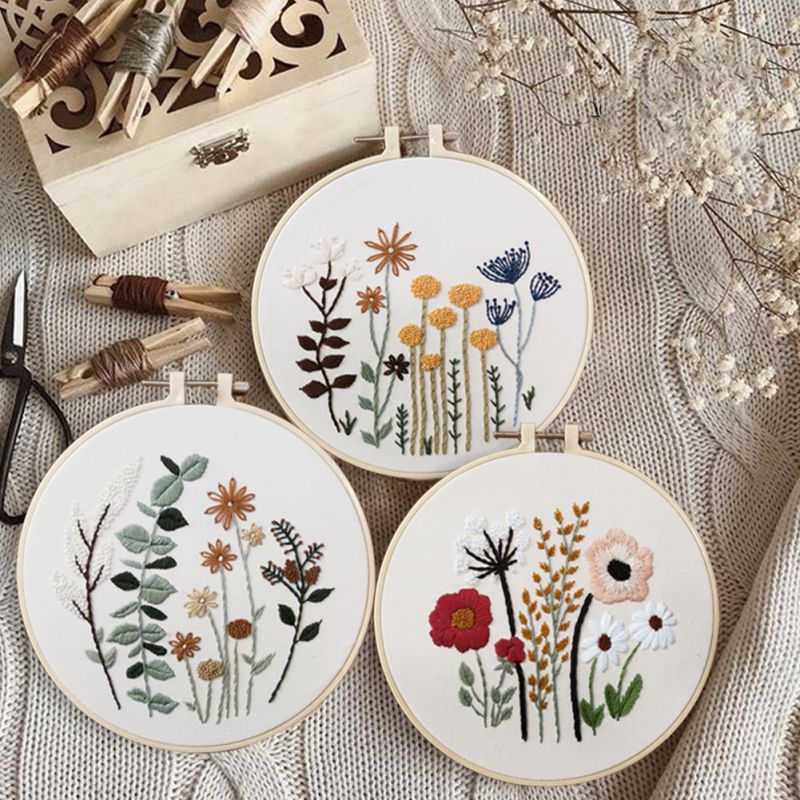
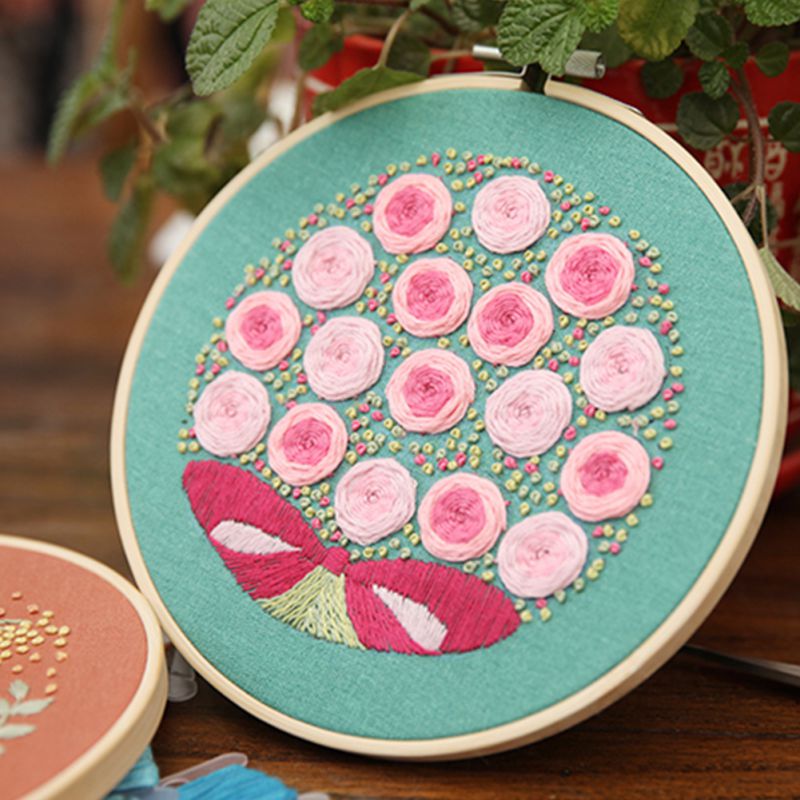
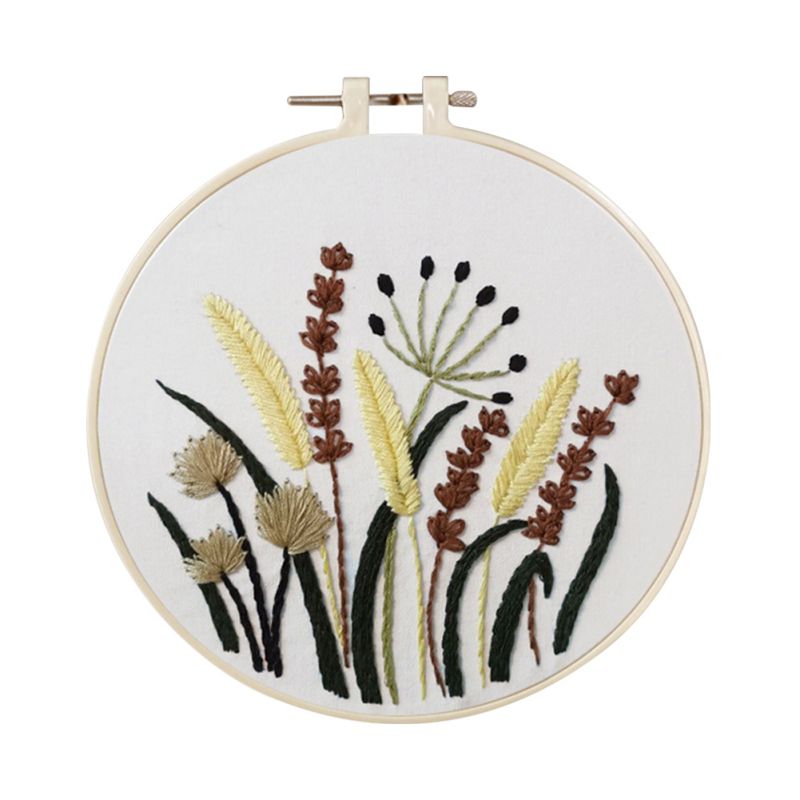
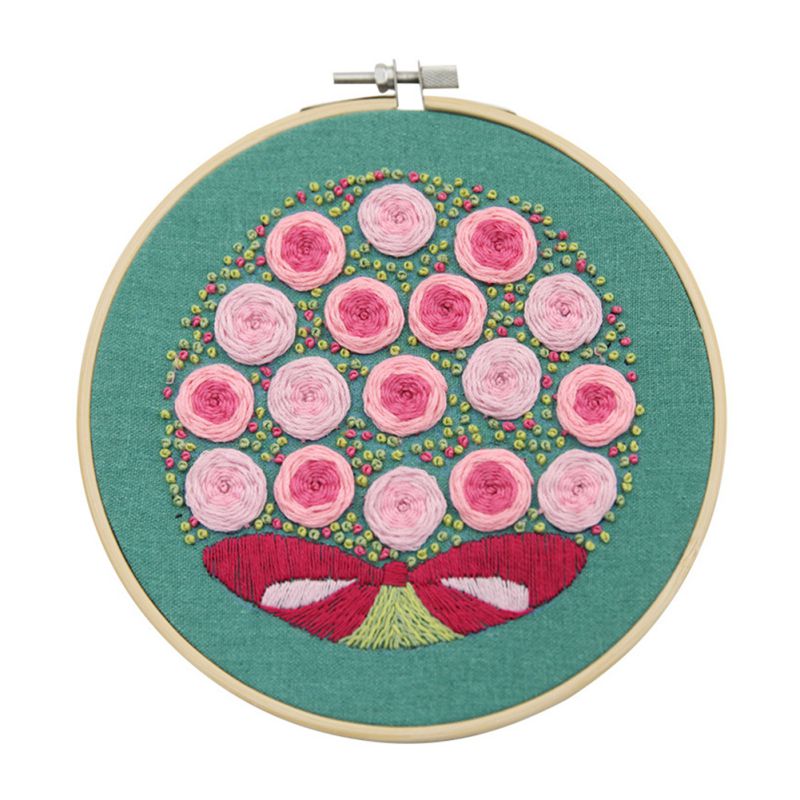
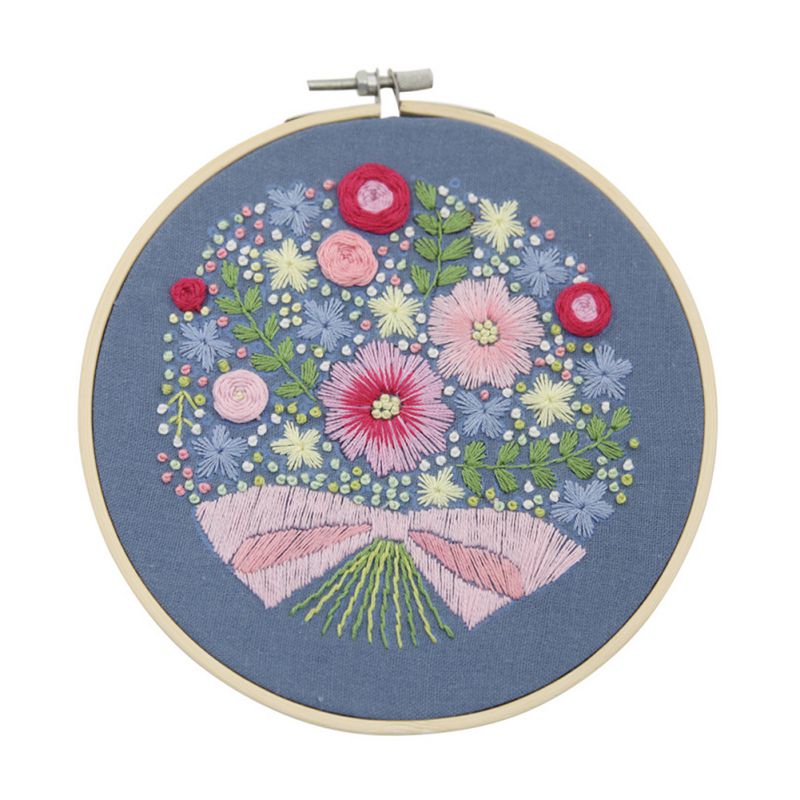
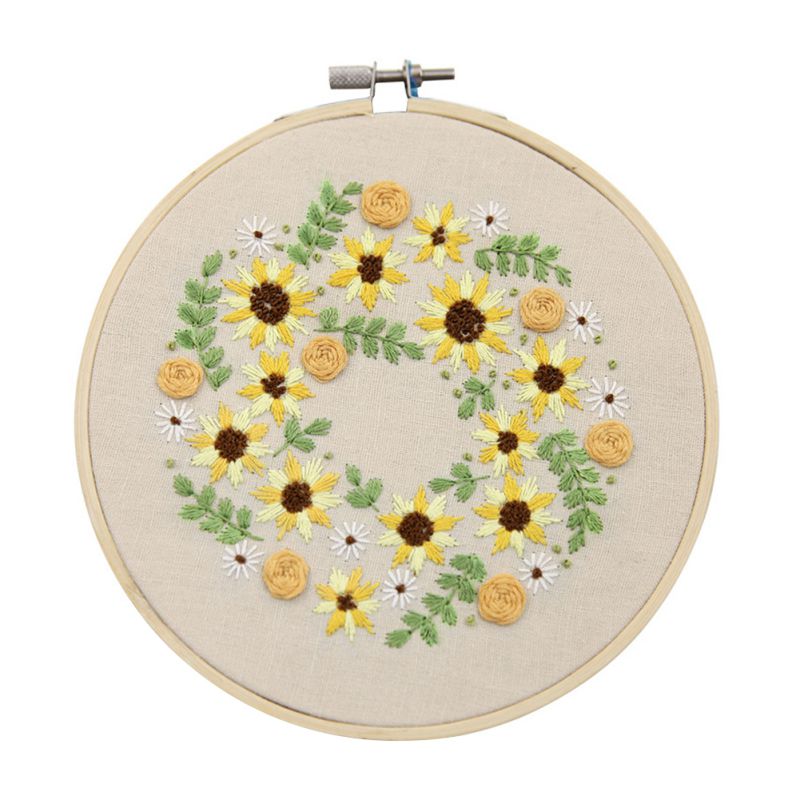
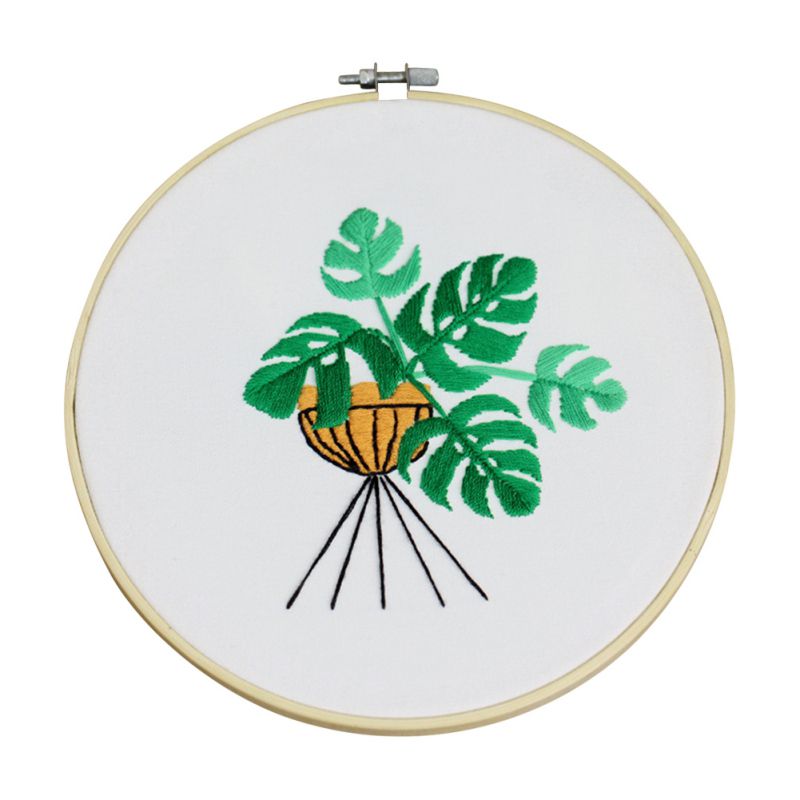
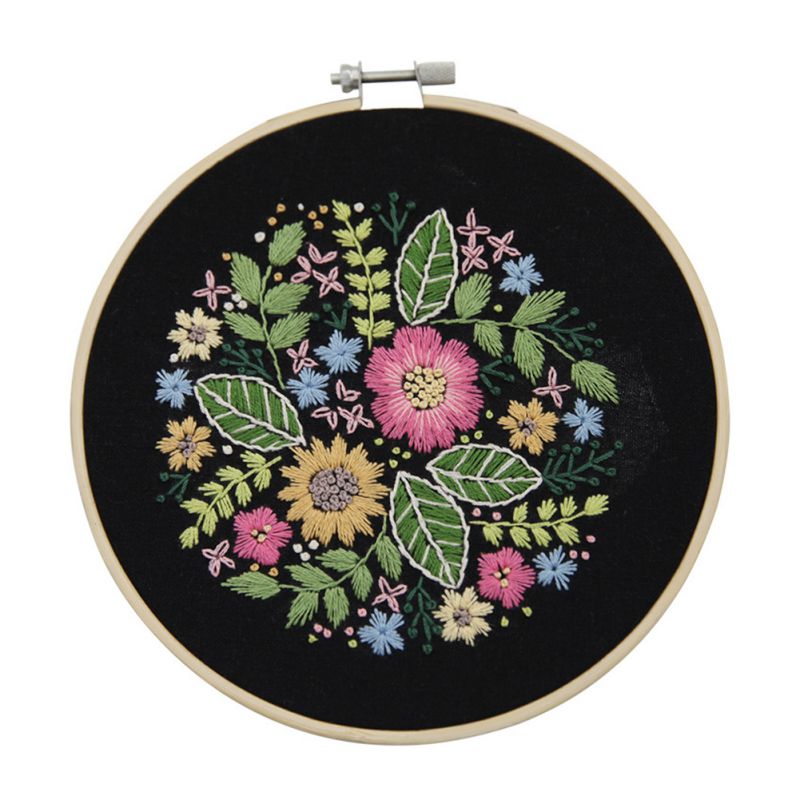
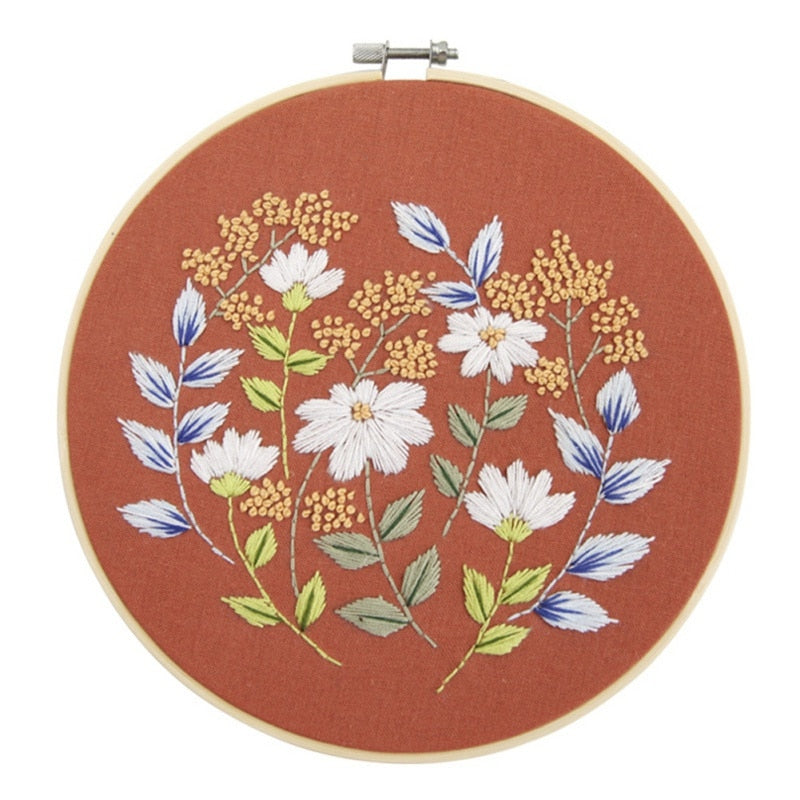
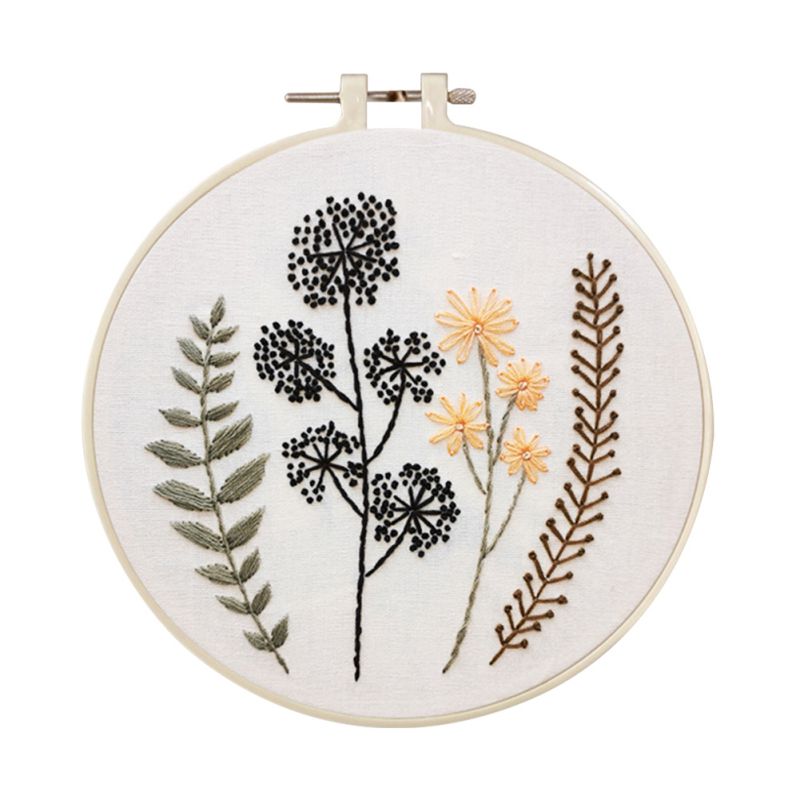
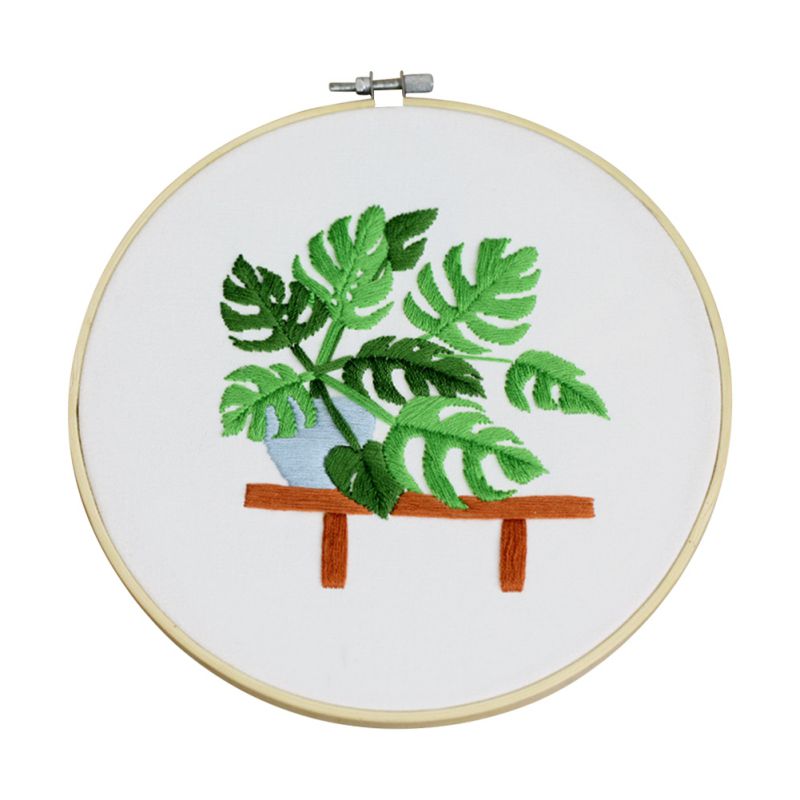
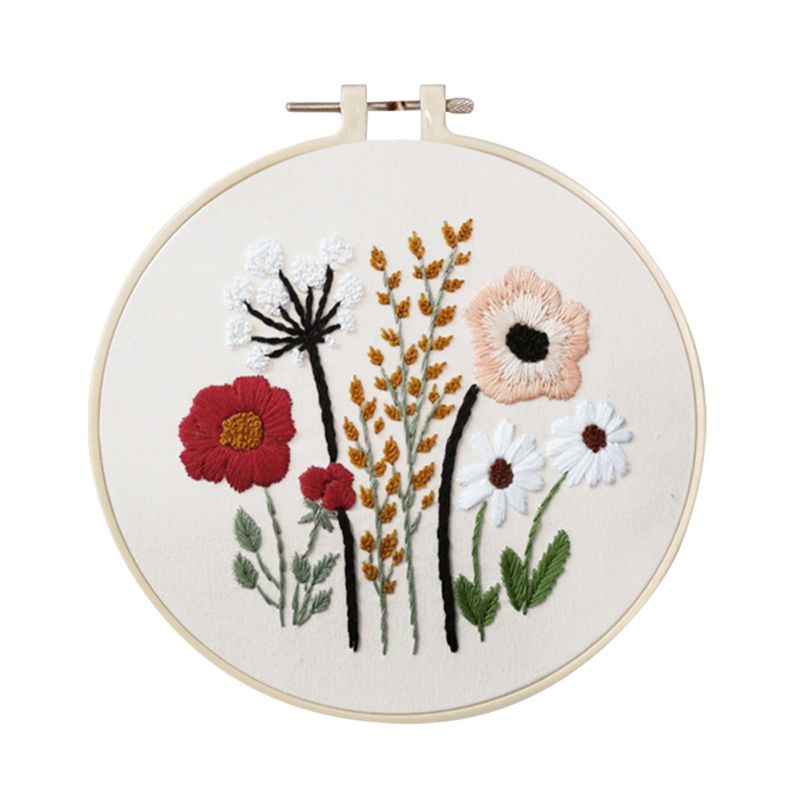
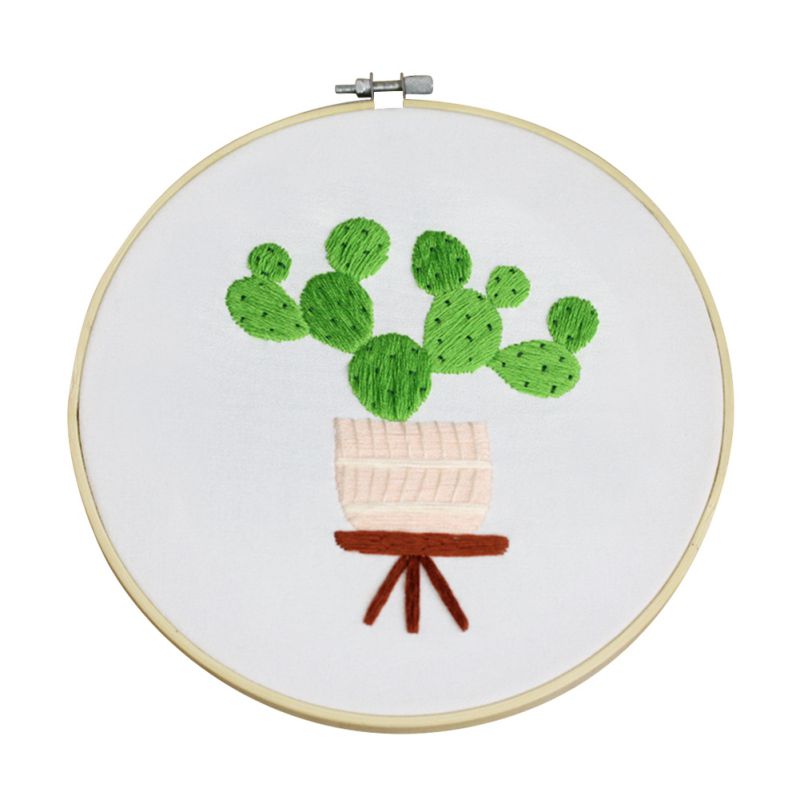
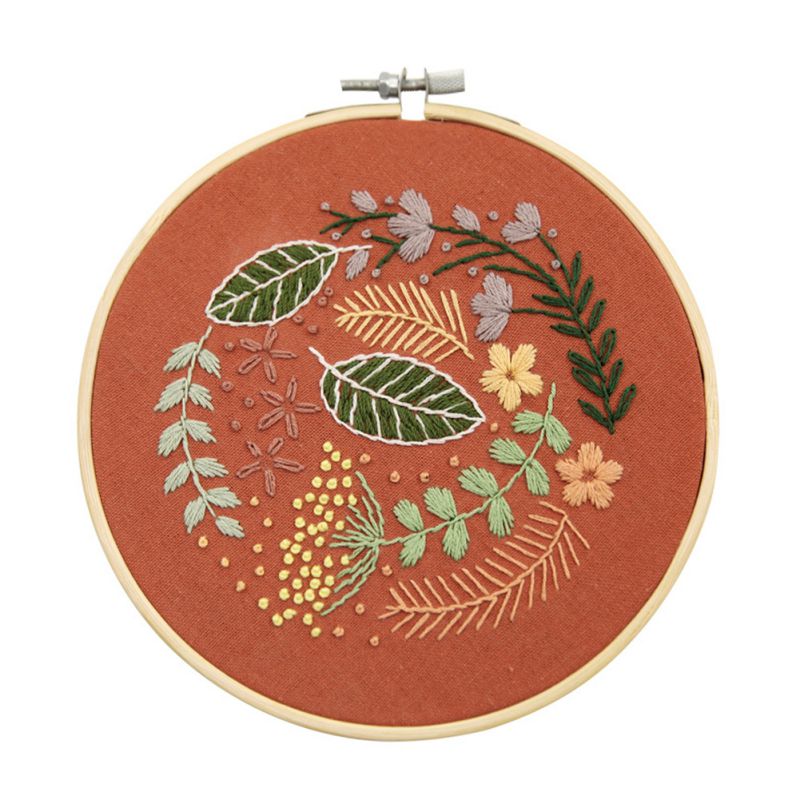
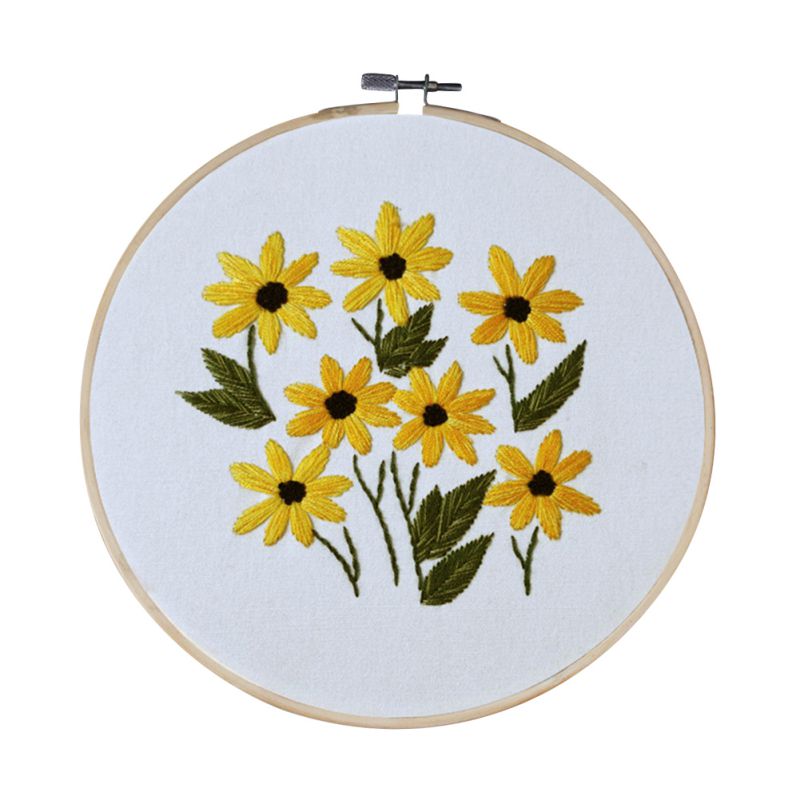
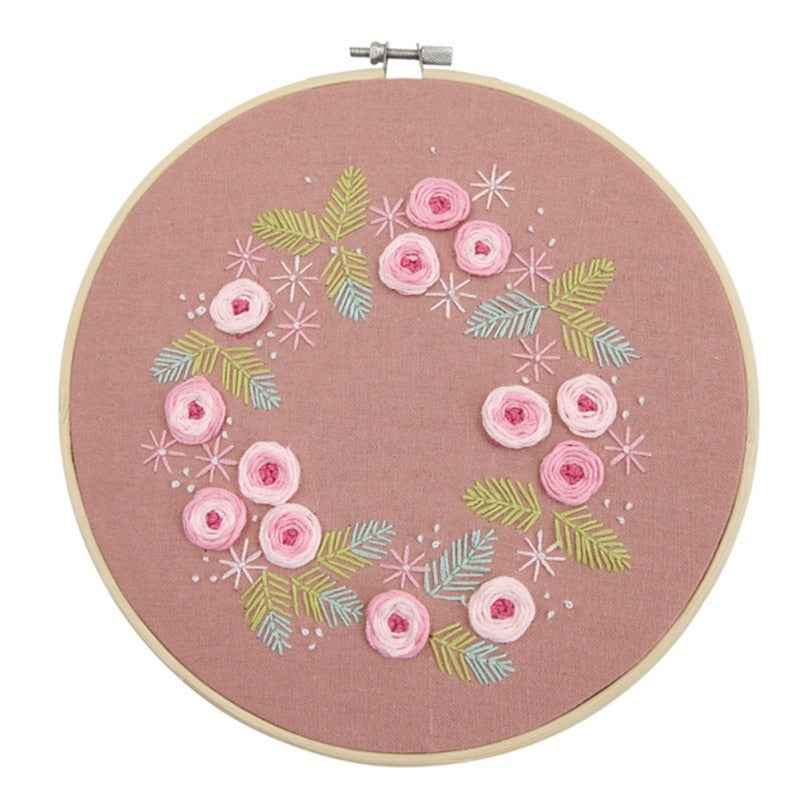
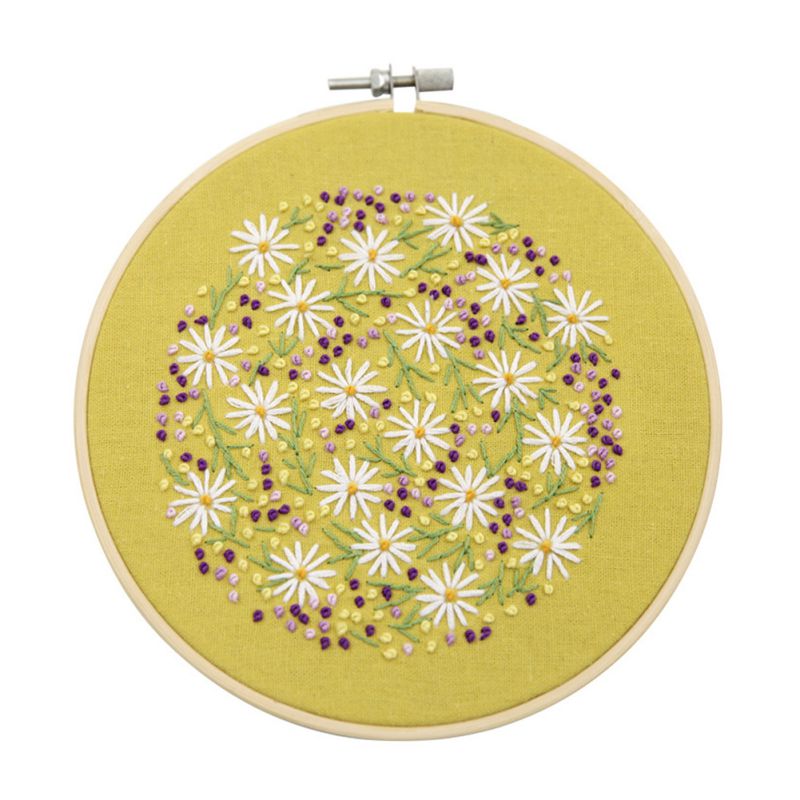
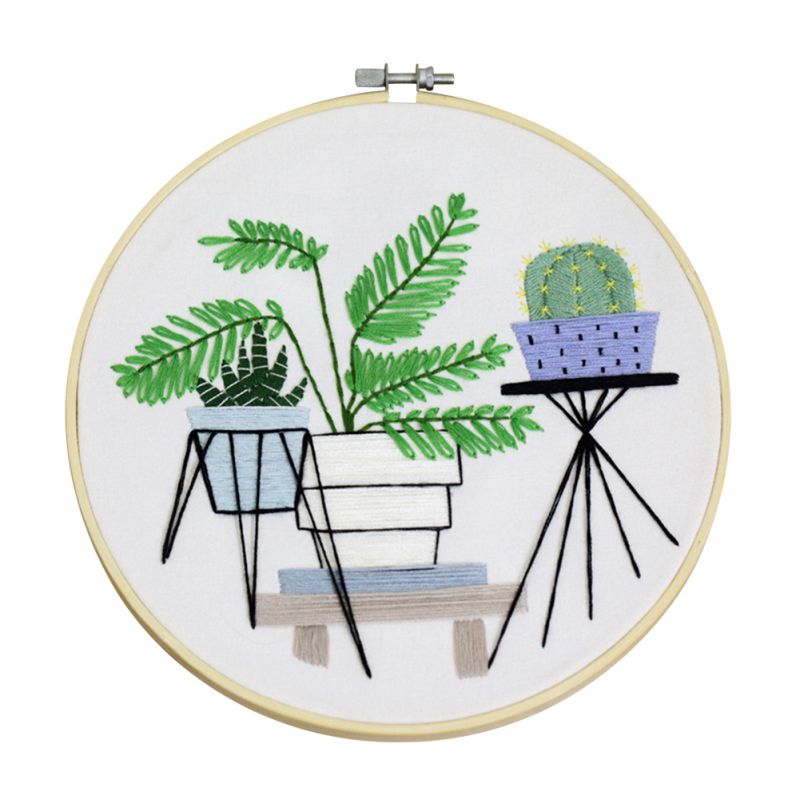
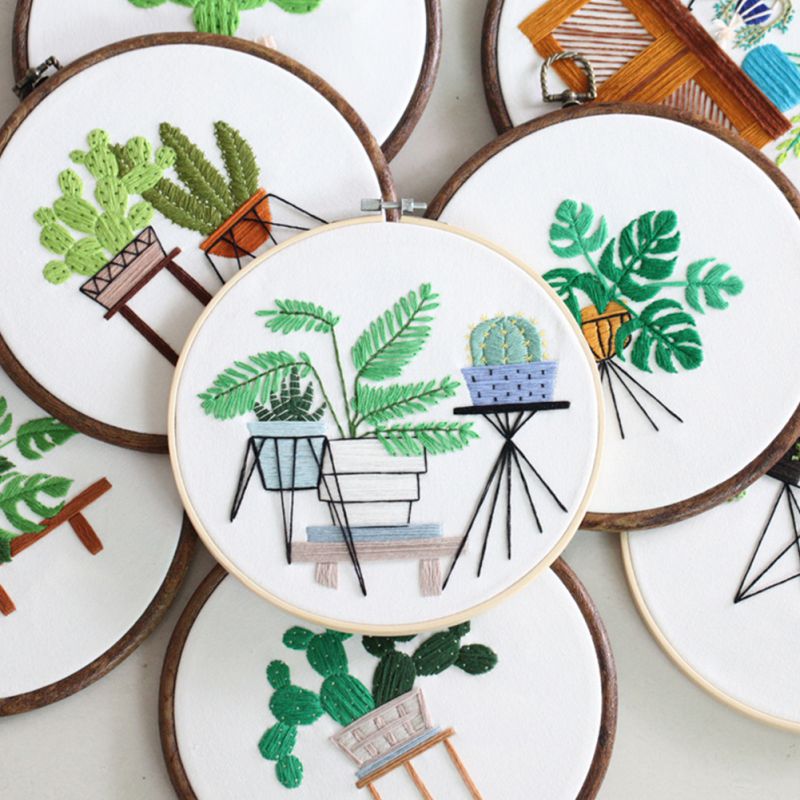
Featuring three different color embroidery patterns with wildflower, grass and leaves, this kit is ideal for beginners looking to learn the basics of needlework. With the stamped pattern right on the embroidery cloth, anyone can join in and create beautiful botanical art that complements their modern contemporary design.

Best of all, it's simple enough to get started right away but also complicated enough to challenge experienced artists. This set has everything you need to get started, including an embroidery hoop, cotton thread and two needles.

  • Type: Embroidery
  • Material: cotton and linen
  • Style: Pastoral
  • Pattern: Flowers / Grass / Leaves
  • Style: as shown
  • Canvas size: 30 * 30cm / 11.81 "* 11.81"
  • Embroidery shed size: 20 * 20cm / 7.87 "* 7.87"


View full details

DIY Flower Embroidery

How to DIY Embroidery for Gifts?

Embroidery is a wonderful way to add a personal touch to any gift. Whether you're creating something for a friend, family member, or significant other, a DIY embroidery project can make for a thoughtful and meaningful present. Here are some tips to get you started on your embroidery journey:

  1. Choose your design: The first step in any embroidery project is to choose the design you want to stitch. There are plenty of free patterns available online, or you can create your own design if you're feeling creative.
  2. Gather your materials: To get started with embroidery, you'll need a few basic supplies. You'll need an embroidery hoop, embroidery floss, a needle, and a piece of fabric. You may also want to have some scissors on hand to trim your thread.
  3. Transfer your design: Once you've chosen your design, you'll need to transfer it onto your fabric. You can do this using a transfer pen or by printing out the design and tracing it onto the fabric.
  4. Get stitching: Now it's time to start stitching! There are many different stitches you can use in embroidery, but the most basic is the backstitch. This stitch is great for outlining designs and creating straight lines.
  5. Finish it off: Once you've completed your embroidery, you'll want to finish it off by securing your thread and trimming any loose ends. You can also wash your embroidery if needed to remove any markings or stains from the fabric.

Some additional tips for DIY embroidery for gifts:

  • Choose colors that are meaningful to the recipient or match their home decor.
  • Consider adding the recipient's initials or a special date to make the gift even more personal.
  • Practice your stitches on a piece of scrap fabric before starting your actual project to ensure you're happy with the look of your stitches.

Embroidery is a fun and creative way to personalize your gifts. With a little bit of practice and some patience, you can create beautiful and meaningful pieces that your loved ones will cherish for years to come.

Is It Difficult to Start Embroidery?

Starting embroidery can seem intimidating at first, but it's actually quite easy to get started! With a few basic supplies and some patience, you can start creating beautiful embroidered designs in no time.

Embroidery is a versatile and enjoyable craft that can be done by people of all skill levels, from beginners to advanced stitchers. It's a great way to add a personal touch to your clothing, home decor, or gifts.

To get started with embroidery, you'll need a few basic supplies, such as an embroidery hoop, embroidery floss, a needle, and some fabric. You can find these supplies at most craft stores, or you can order them online.

Once you have your supplies, you'll need to choose a design to stitch. You can find plenty of free patterns online, or you can create your own design if you're feeling creative. Then, transfer the design onto your fabric using a transfer pen or by tracing it onto the fabric.

Next, it's time to start stitching! There are many different stitches you can use in embroidery, but the most basic is the backstitch. This stitch is great for outlining designs and creating straight lines. As you gain confidence, you can try out more advanced stitches like the satin stitch or French knot.

Embroidery is a forgiving craft, so don't worry if you make mistakes. You can always undo your stitches and start again. With practice and patience, your embroidery skills will improve, and you'll be able to create beautiful designs that you're proud of.